
A child wanting to trace a drawing, a parent testing Montessori activities, an amateur illustrator working on tracing paper: in each of these cases, a light table solves the problem in seconds. The materials needed to build one fit in a shopping bag, and assembly requires neither a workshop nor woodworking skills.
Making a light table at home remains one of the most accessible DIY projects, provided you make the right choices on two specific points: the type of light and the sturdiness of the box.
Color temperature and LED safety for a children’s light table
Before discussing the box or the panel, we start with the light source, as it determines the comfort of use. Many tutorials recommend an LED strip without specifying its color temperature. This is a mistake.
The Anses, in its opinion published on May 14, 2019, regarding the health effects of lighting systems using LEDs, recommends to prefer LEDs with a temperature lower than 3,000 K at home. Children are particularly affected: their lens filters short wavelengths (blue light) less effectively. Therefore, for a light table intended for drawing or sensory play, a warm white LED strip is chosen.
The same Anses opinion points out another problem rarely mentioned in DIY guides: flicker. Some low-quality LED strips exhibit rapid variations in intensity, causing visual fatigue and headaches, especially in children and adolescents. One should prefer a power supply and a dimmer advertised as flicker-free. Those wishing to make a DIY light table will find additional details on choosing the strip.
Wooden box or storage box: which base to choose
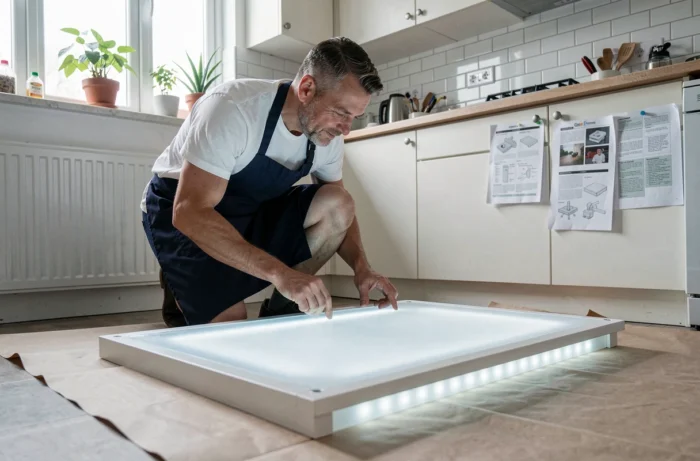
The box forms the body of the light table. There are two main options: build a frame from plywood or repurpose an existing container (storage box, plastic bin, IKEA drawer).
Plywood box
Plywood offers the best rigidity for regular use. Cut four boards to form a rectangular frame, assemble them with wood glue and a few screws. The bottom can remain open (the light comes from below) or have a white-painted panel to reflect light towards the surface.
White paint on the inside bottom of the box effectively replaces aluminum foil that some tutorials suggest. Crumpled aluminum creates uneven reflections that disrupt diffusion. A layer of matte white paint gives a more homogeneous result.
Repurposing an existing box
For a quick project or minimal budget, a simple translucent plastic box works. Stick the LED strip inside, place a diffusion panel on top. Feedback varies on this point: some thin plastic bins vibrate or heat slightly with prolonged contact with the strip. Ensure that the plastic can withstand the heat generated by the power supply.
Diffusion panel: plexiglass, frosted glass, or tracing paper
The work surface must fulfill two functions: diffuse light evenly and support the weight of objects placed on it (sheets, figurines, colored sand). Here are the common options:
- Opal white plexiglass: this is the best compromise between light diffusion and durability. Cut it to the dimensions of the box. It won’t break if dropped, making it suitable for children.
- Frosted glass: good diffusion, but fragile. Reserved for tables intended for adult use (drawing, calligraphy). Felt pads are glued to the edges to prevent slipping.
- Tracing paper stretched over a frame: a temporary solution, functional for a few uses. The paper tears easily and yellows with the heat from the LED strip if it is too close.
The thickness of the plexiglass matters. If too thin, it bends in the center when pressed. For a box of A3 size or larger, aim for sufficient thickness so that the panel does not deform under moderate pressure.
Mounting the LED strip and electrical supply
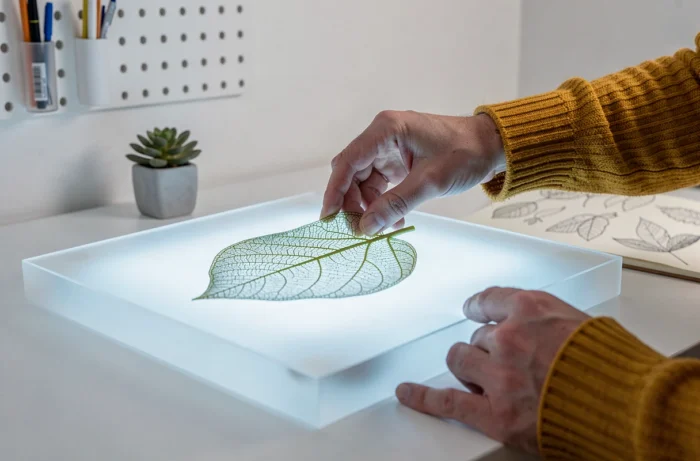
The LED strip is glued inside the box, along the side walls. Avoid placing it flat on the bottom: the light would be too direct and create visible hot spots through the diffusion panel. Gluing the strip to the inner sides of the frame allows the light to bounce off the white bottom before reaching the surface.
For the power supply, connect the strip to a transformer suitable for its voltage (most operate on low voltage). A dimmer can be added to adjust the intensity according to the activity: low for sensory play with translucent objects, higher for tracing a drawing through thick paper.
Some precautions to follow during assembly:
- Run the power cable through a hole drilled in the back of the box, not over the edge (risk of crushing and short circuit).
- Secure the cable with a cable tie to avoid any strain on the strip’s soldering.
- Ensure that the transformer is positioned outside the box, in a ventilated area, to limit heat buildup.
Finishing and decorating the box
Once the assembly is complete, you can sand and paint the outside of the wooden box. A durable finish involves two coats of paint and light sanding between each coat. For children’s use, a non-toxic water-based paint is sufficient.
Some add non-slip feet under the box to stabilize the table on a desk. Four rubber pads glued to the corners prevent the lamp from sliding during use. This detail enhances daily comfort, especially when a child presses hard while drawing.
The completed DIY light table works well for both drawing and decoration: placed in a corner with translucent pebbles or dried leaves, it becomes an ambient night light. The choice of a multicolored LED strip also opens up lighting effects that commercial models, often limited to white, do not offer.